Introduction
If you work in the field of Infosec, you have probably heard of Vulnerability Assessment (VA). VA is a process of identifying security vulnerabilities in a system. Imagine a burglar looking for and identifying different entrances to your building, but not entering. The results of the scan will show how an application, website or other system is vulnerable, but it doesn’t provide details on what would happen if the vulnerability was exploited.
It is recommended that you conduct a VA against your organization’s network every quarter, and if your organization follows certain policy and standards, such as PCI DSS or ISO 27001, VA is a mandate. However, average home users should also conduct vulnerability assessment against their network.
In this blog, I will guide you through the process of performing a VA against your network using Tenable Nessus.
What is Nessus?
Nessus is a vulnerability scanner developed by Tenable. It has two versions: Nessus Home and Nessus Professional. The major difference between the two is that you can only scan up to 16 IP addresses per scanner, and you won’t be able to perform compliance checks and content audits with Nessus Home. Nessus Professional is used by organisations with big networks.
Vulnerability assessments are typically done by running authenticated scans, which means the scanner will authenticate against the systems its scanning. The scan will then come back with much more detailed information about a system. With Nessus, you can perform authenticated scans against different operating systems such as Windows, Linux, and Mac OS via different methods such as SMB, SSH, SNMP, Telnet, etc.
Nessus supports the Common Vulnerability Scoring System (CVSS) and supports both v2 and v3 values simultaneously.
Install and Setup
Download Nessus home from the official Tenable website which is (https://www.tenable.com/products/nessus/nessus-essentials)
Use your name and email address, and the activation code will be sent your email.
Once you receive the activation code, go to (https://www.tenable.com/downloads/nessus) and download the appropriate Nessus package.
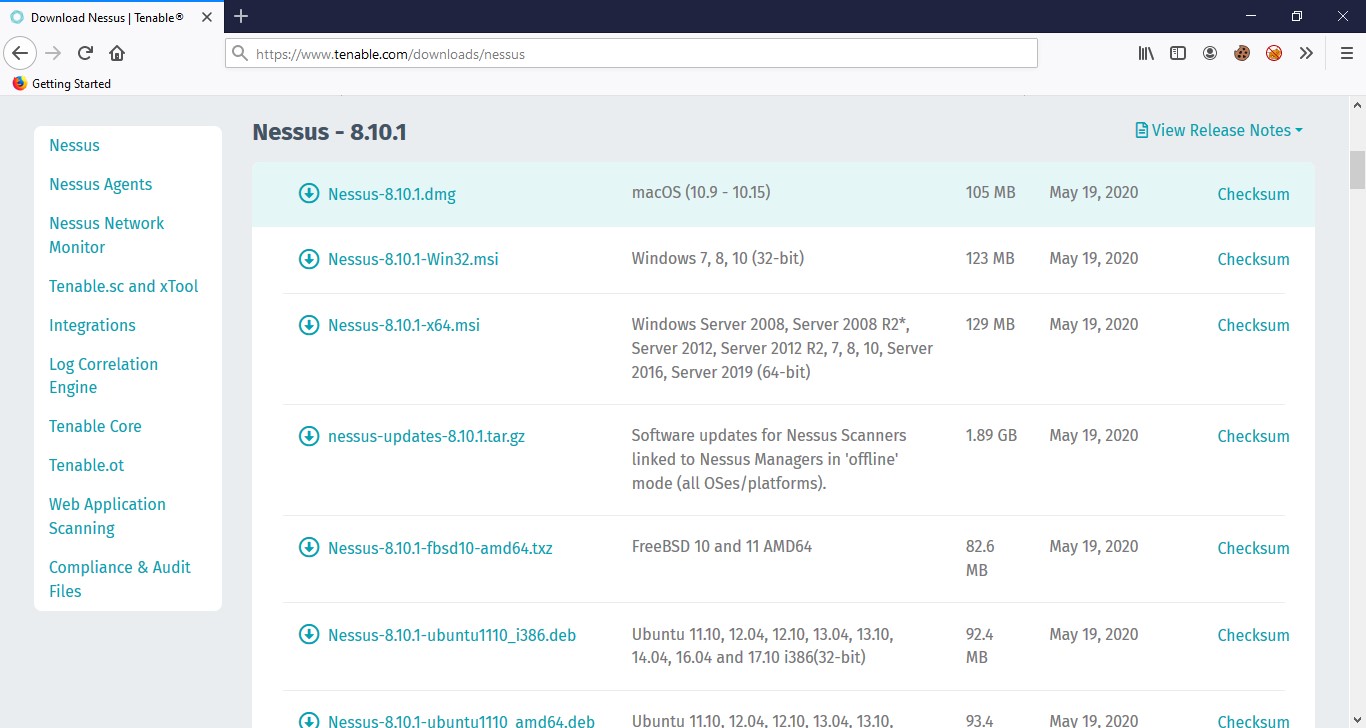
Install Nessus. During the installation, Nessus will install a tool called WinPcap, which will allow Nessus to capture live network traffic.
Nessus runs on TCP port 8834 on your local machine. Once installed, your default browser will open and redirect to https://localhost:8834, the browser will display a warning saying the certificate cannot be trusted. Proceed by clicking, go to the webpage.
The site will ask you to Create an Account, once you do, the site will ask you for the activation code that was sent to your email. Enter the code and continue.
After this, Nessus will set up and compile the plugins and other requirements. Once this is complete, you’ll see the login screen. Login with your account credentials.
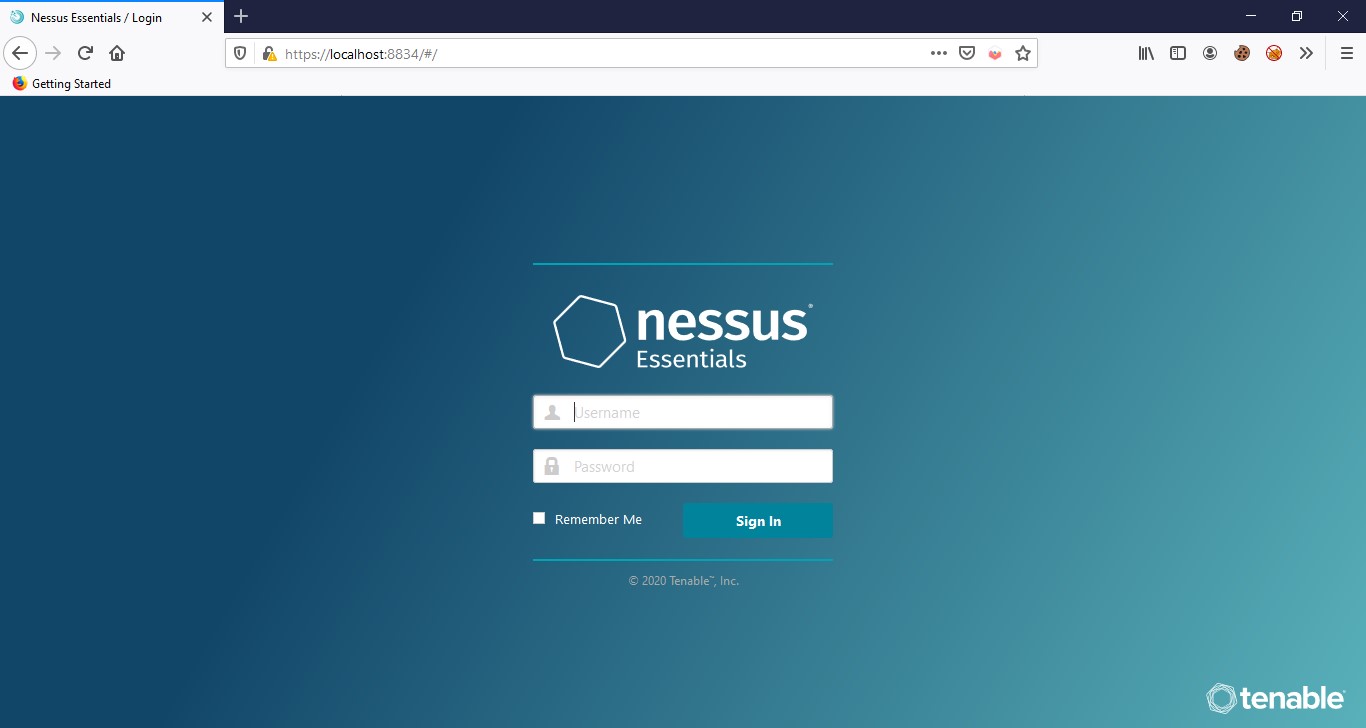
After logging in successfully, you’ll see the Nessus web console.
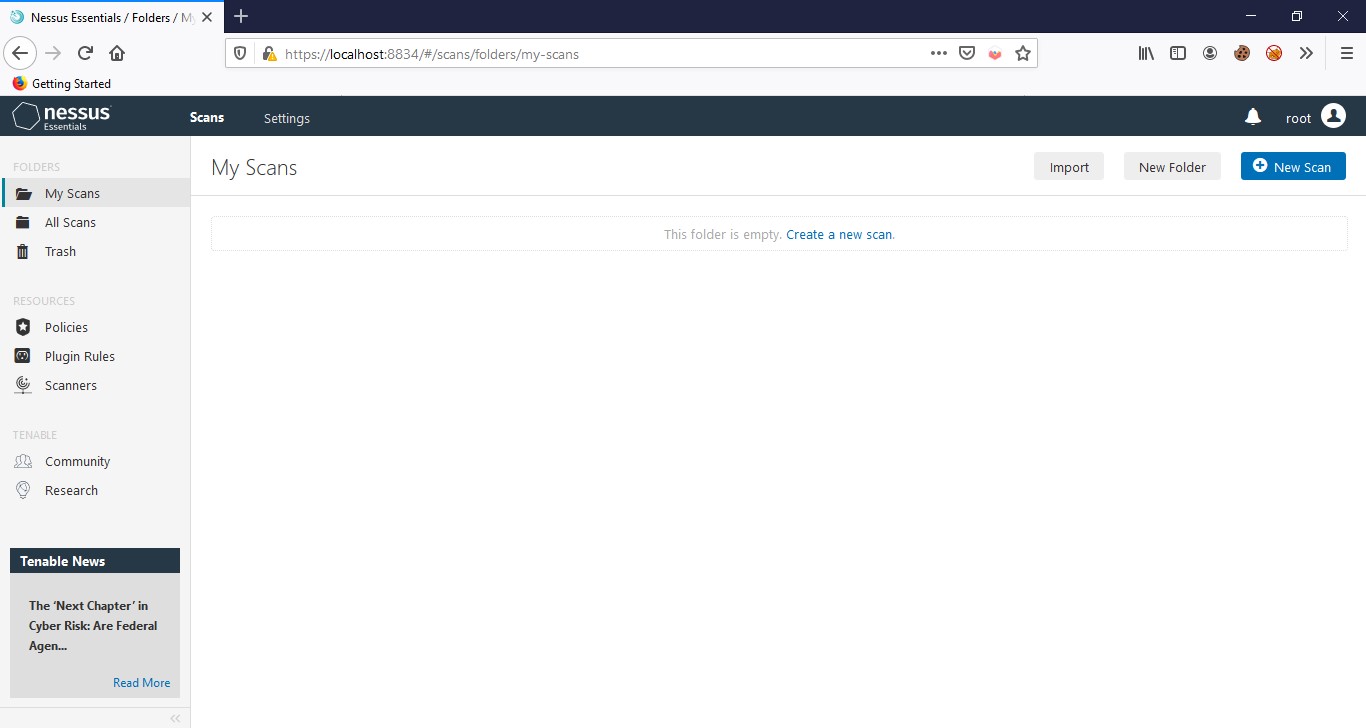
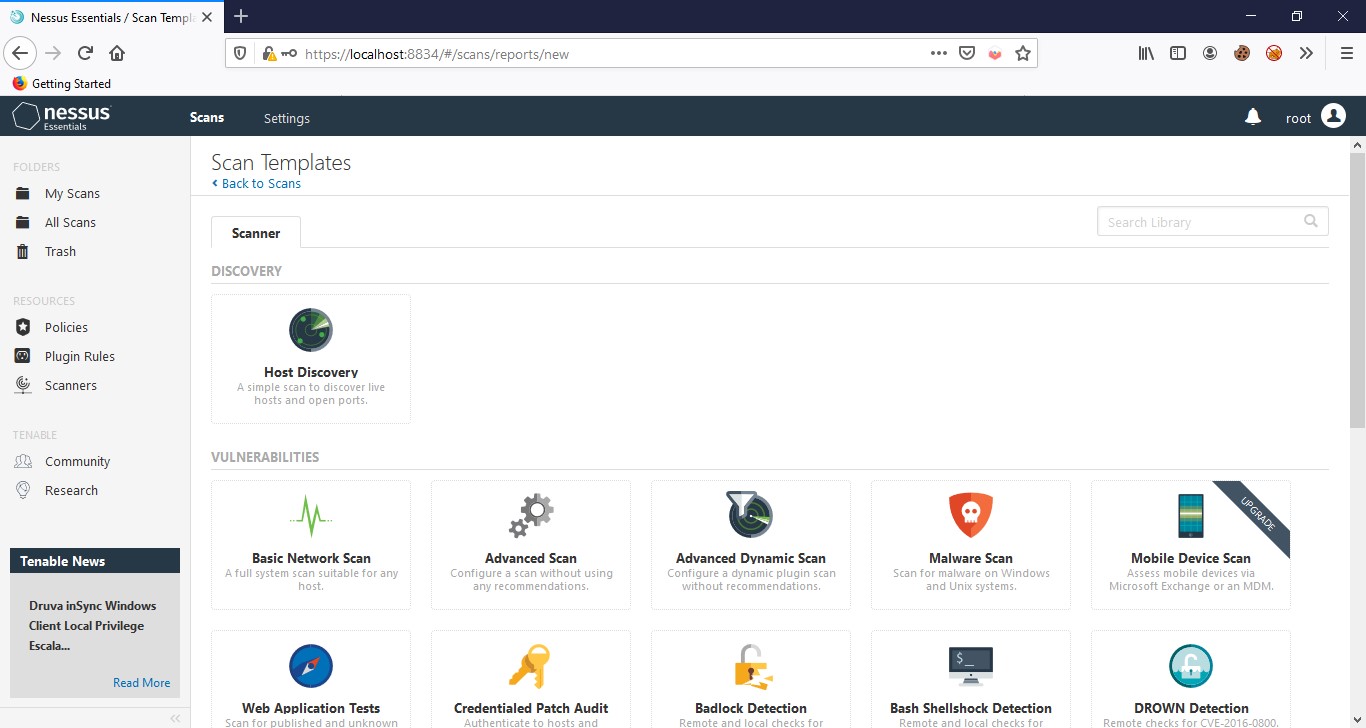
You can create a new scan by clicking New Scan on the upper right corner. Here, you can see various scan templates, some of them are only available with Nessus professional, but you can use most of them for free like Host Discovery, Basic Network Scan, Advanced Scan, Malware Scan, Web Application Tests, WannaCry Ransomware, etc
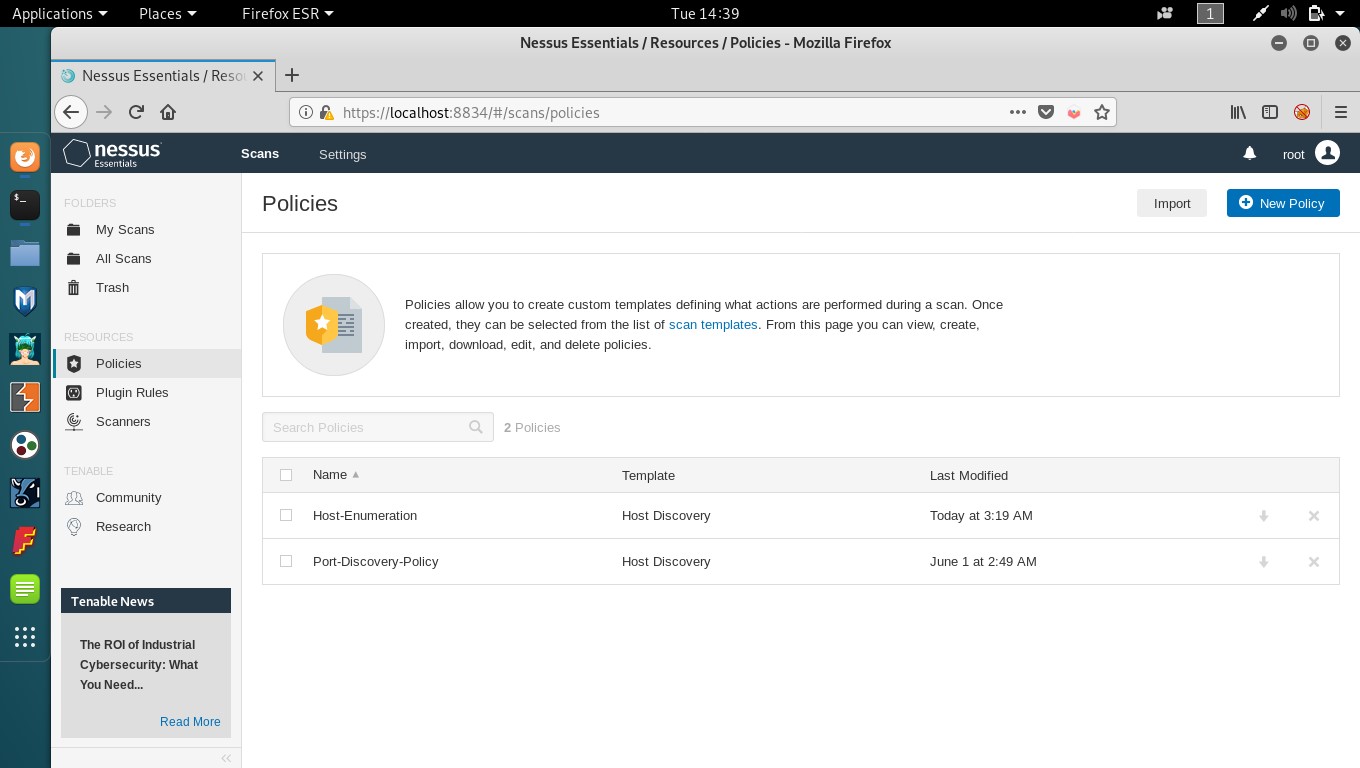
You can also create policies; A policy is a set of predefined configuration options related to performing a scan. After you create a policy, you can select it as a template when you create a scan.
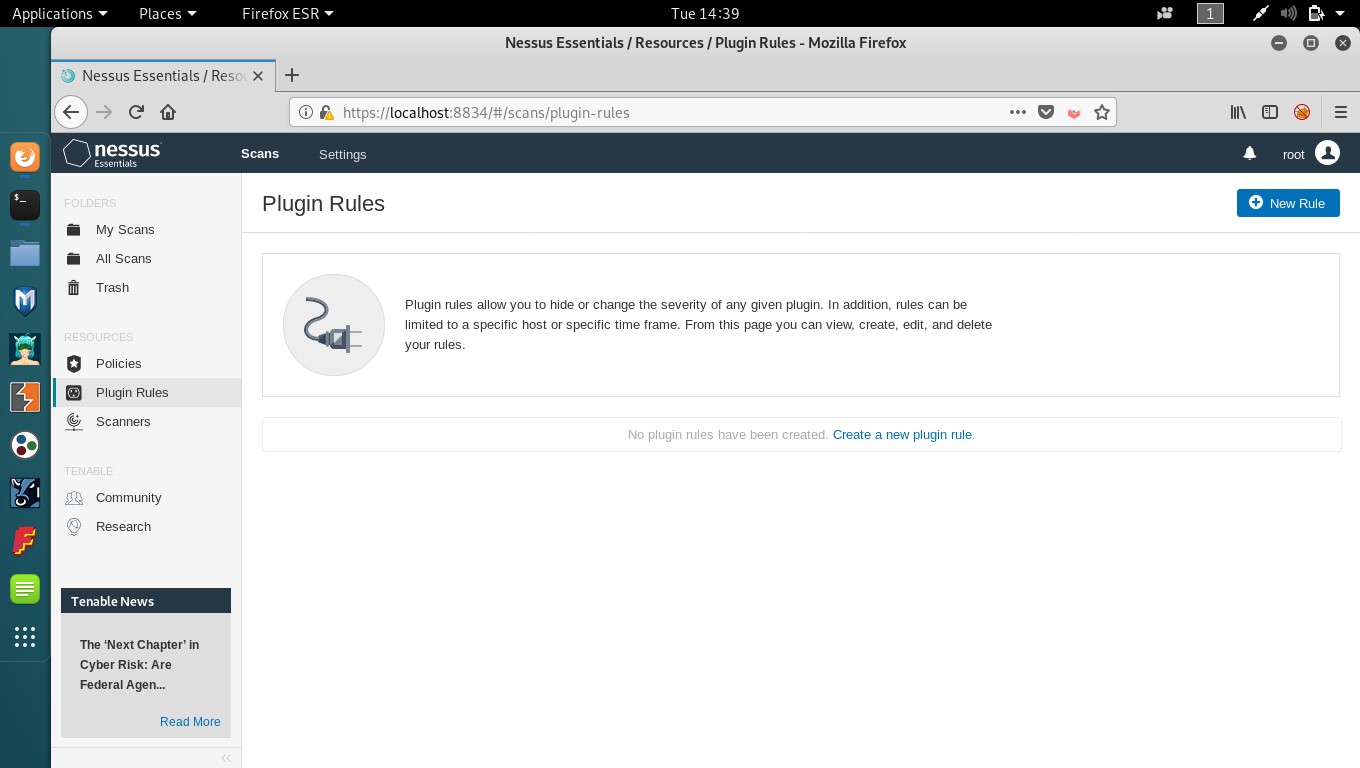
Plugins
As information about new vulnerabilities are discovered and released into the general public domain, Tenable, Inc. research staff designs programs to enable Nessus to detect them. These programs are named plugins, and are written in the Nessus proprietary scripting language, called Nessus Attack Scripting Language (NASL).
Plugins contain vulnerability information, a generic set of remediation actions, and the algorithm to test for the presence of the security issue. They also are utilized to obtain configuration information from authenticated hosts to leverage for configuration audit purposes against security best practices.
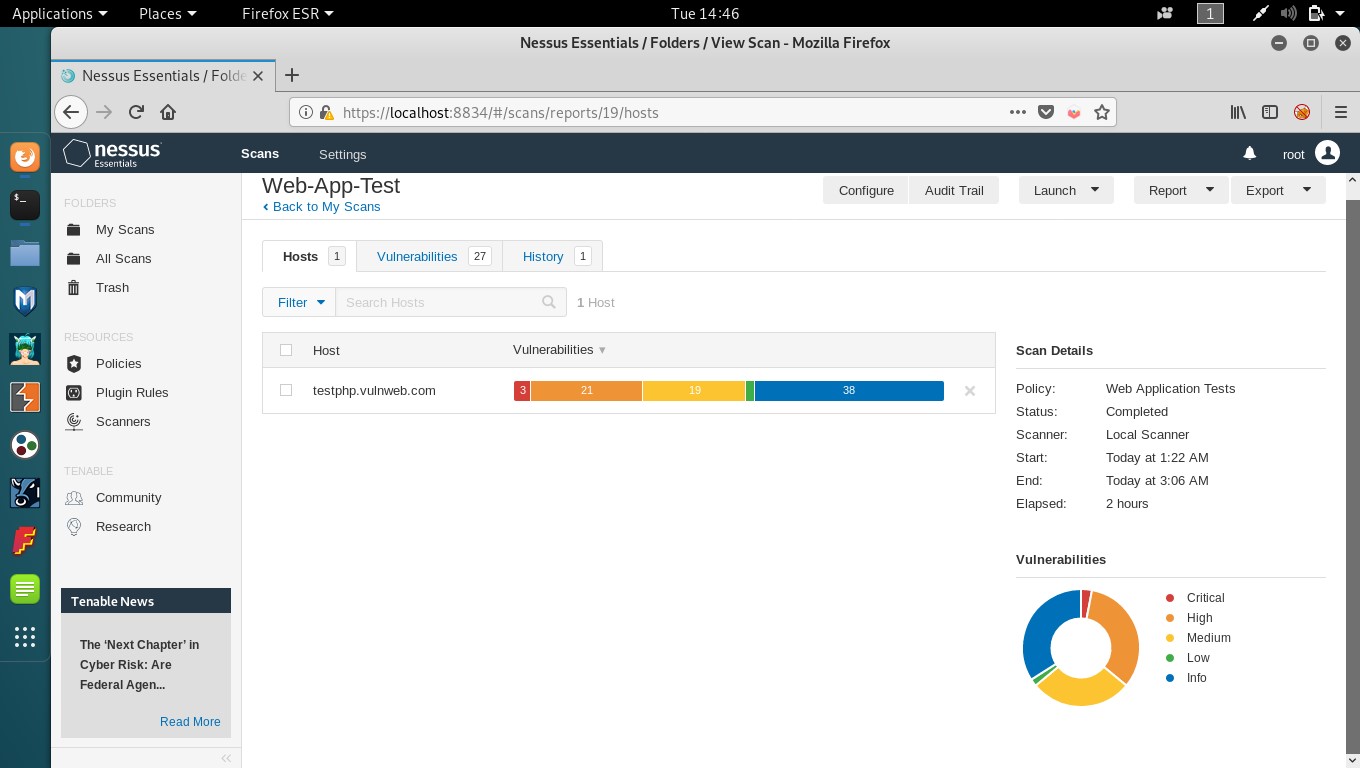
Nessus also has five severity levels to rate vulnerabilities, as follows
– Critical
– High
– Medium
– Low
– Info
Explanation of the video:
In this video, I have given a brief introduction to the Nessus platform and how to use some of its functionality.
• Firstly, we have to start the Nessus service by typing the following command,
/etc/init.d/nessusd start
• Then, we’ll navigate to http://localhost:8834 from any web browser, this is the Nessus login page. We’ll login with our account credentials created before, logging in, we see the Nessus essentials web console My Scans page, this shows all the scans you’ve created.
• Next, we’ll see how to create a new scan, on the upper right-hand corner we see the option for creating a new scan, clicking that there are different scan templates, pre-defined and user defined.
• Choose the Host Discovery scan template and enter the name, description and target(in this case www.testphp.vulnweb.com) details in the basic settings of the scan. You change the other settings, according to your preferences like the schedule (if you want the scan to run at a specific date and time) or the scan type.
• As the target we’ve chosen is a web application, we’ll see a Web Application Scan, again enter the basic scan settings, in this you can also enter credentials, if suppose your web application has a login page. The scan type includes scanning for web vulnerabilities, in which the web application is enumerated for hidden directories and pages, and also performing generic web application tests.
• Next, we’ll create a scan policy, go to policies and click on New policy on the upper right-hand corner, again we’ll see the different templates, choose the template for which you’d like to create a custom scan policy, give the basic details and the scan type (in this, I’ll be creating a basic host enumeration policy)
• Now, we’ll launch the host discovery scan, we created and as that scan completes, we can analyse the results of a previous web application test scan we created and launched.
• Analysing the report, we see how the vulnerabilities found are represented in two type of graphs and according to their severity level. Moving on to the vulnerabilities tab, we see the vulnerabilities found listed with their names and severity level. Clicking any vulnerability, we can see the description, solution, plugin details, risk information, and more about that particular vulnerability.
• We can now see the results of the Host Discover scan which we launched, it shows the host name, details of the ping to the remote host and all the open ports of the target.
• We can also create a report of any completed scan for future reference and analysis.
Nessus gives us the option of three report formats, which are PDF, HTML and CSV.
Conclusion
Tenable Nessus Essentials is a very good freeware for basic Vulnerability assessment (VA), for small business owners and average home users. It has a user-friendly GUI and gives a detailed report of the vulnerabilities found and also their risk information including the solution for patching it. It is also used in the InfoSec community for automated VA on applications, machines and networks and provides a great deal of information and loopholes without the effort of manual testing.
